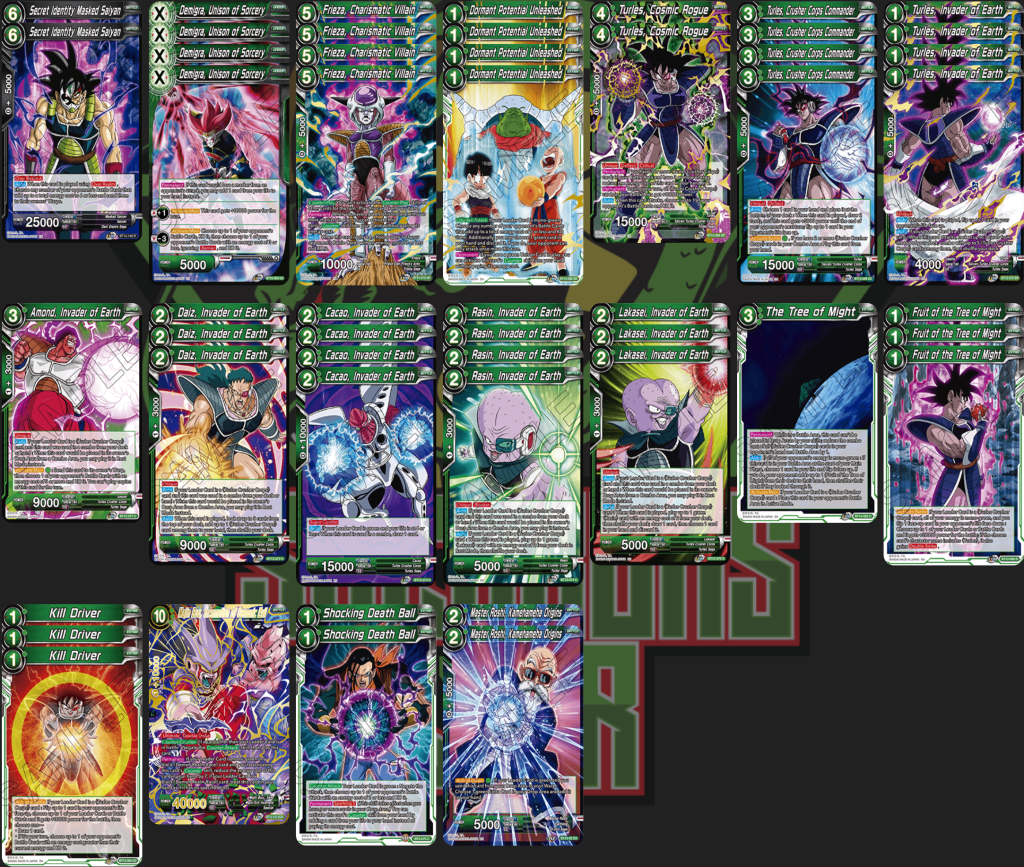

Untap List:
//play-1
1 Son Goku // Son Goku, Supreme Warrior (bt16 -001 uc)
//deck-1
2 Broly, Crown of Retribution (p-177_pr)
2 Koitsukai, Mechanical Courage (db2-143)
2 SSB Kaio-Ken Son Goku, Concentrated Destruction (db2-001)
1 SSB Vegeta, Unbridled Power (bt16-147 scr)
1 King Piccolo, the New Ruler (eventpack 08)
3 King Vegeta’s Imposing Presence (bt13-030)
4 Afterimage Technique (bt5-023)
4 Yamcha, Merciless Barrage (bt10-008 sr)
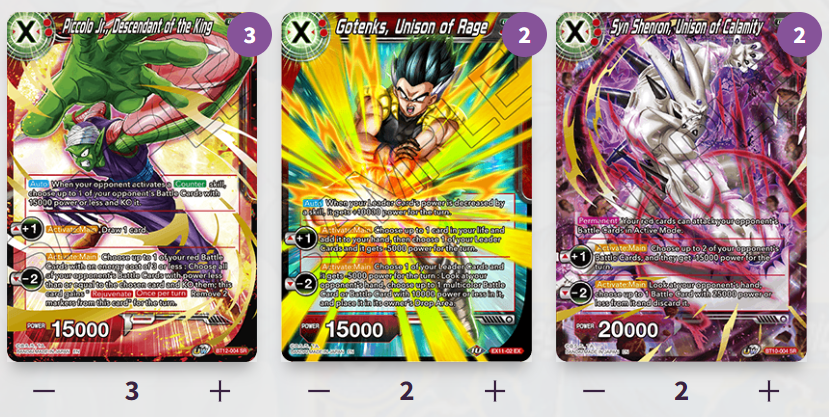
2 Syn Shenron, Unison of Calamity (bt10-004)
2 Gotenks, Unison of Rage (ex11-02)
3 Piccolo Jr., Descendant of the King (bt12-004)
4 Frieza, Universe 7 Combination (bt16-011)
4 Son Goku, Ultra Mastery (bt16-021 sr)
4 SSB Vegeta, for the Universe’s Survival (bt16-012)
4 Android 17, Heeding the Call (bt16-009)
4 Golden Frieza, for the Universe’s Survival (bt16-010)
4 Android 17, for the Universe’s Survival (bt16-008 sr)
4 Son Goku Sign of Mastery (bt16-006)
Throughout testing Realm of the Gods, it has become very apparent that Red Goku is easily one of the best decks being released. A lot of lists are already available in the Facebook group and throughout the YouTubes, but today I wanted to show you a different take and also touch on some points you may want to take into your own deck building as we move forward into ROTG format.
The Basic Lineup
When reading the leader it becomes quite apparent that 1) the leader is the engine and facilitates these lower cost threats with built-in removal, and 2) it is advantageous to play 30+ U7 cards in your list to ensure you can awaken early and make sure your best threats are online. This is why I just go ahead and max out on all of these cards.
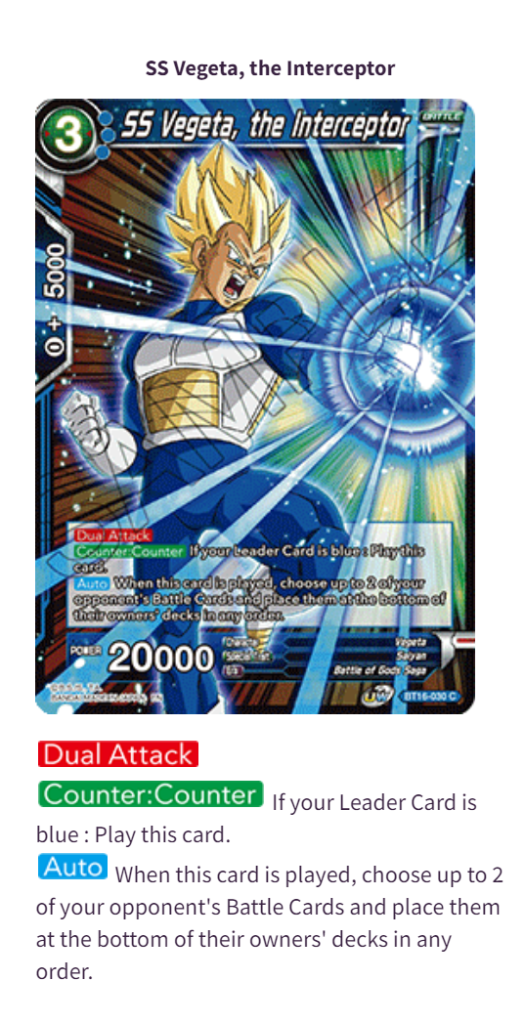
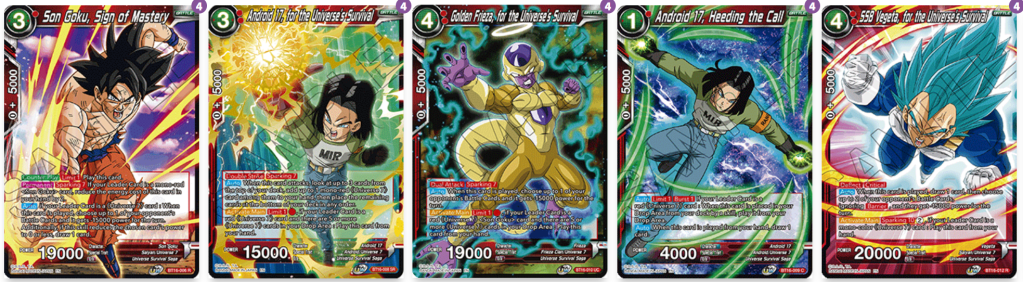
Vegeta is a two cost, Deflect, Critical threat that DRAWS A CARD and gives -15k to two Battle Cards, ignoring Barrier.
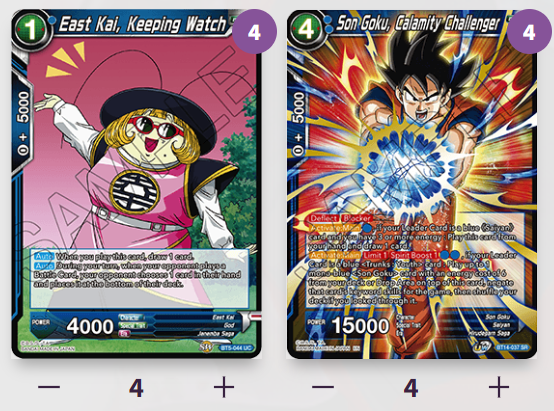
One cost Android 17 is free combo power and additional Burst if milled off the top and has the upside of being a turn one cantrip.
Three cost Android 17 is a one cost, Double Strike threat that when attacking can find a Mono-Red U7 card and add it to hand.
Golden Frieza is a one cost, 19k Dual Attack threat that gives -15k to something on play. (Great with Syn Shenron Unison)
Son Goku, Sign of Master is a one cost, 19k threat that gives something -15k on play with the upside of potentially drawing a card.
… Hold Up a Sec
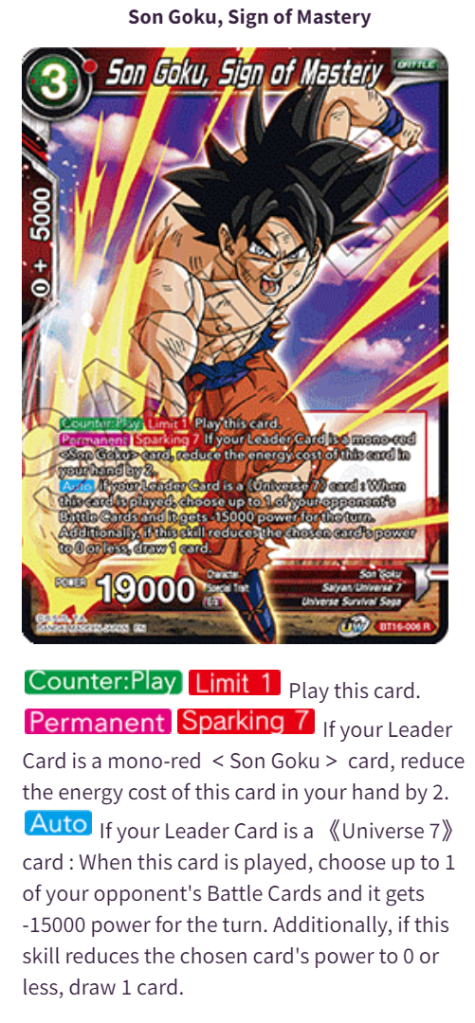
Please be sure to understand that this card is an absolute monster and provides the highest value drip we have seen in since Turles, All Too Easy. One energy offensively or defensively, -15k to something, if the thing dies, draw a card, and you get a 19k attacker. Snapped.
Super Combos – You Have Options
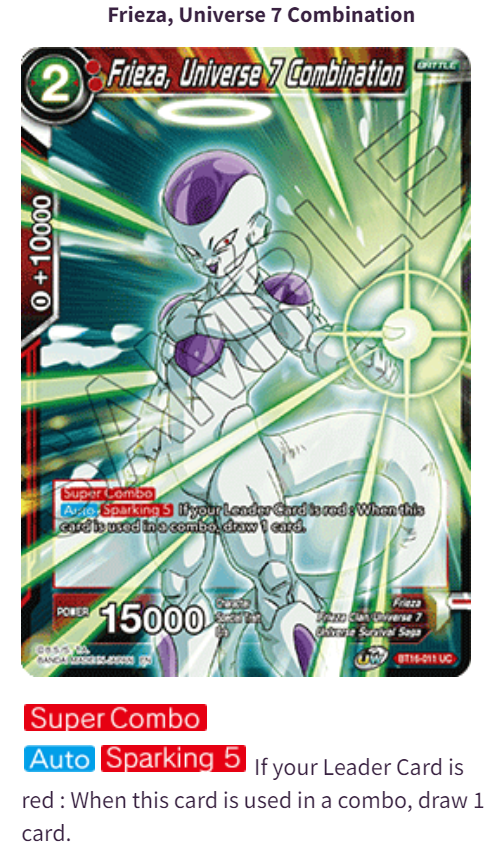
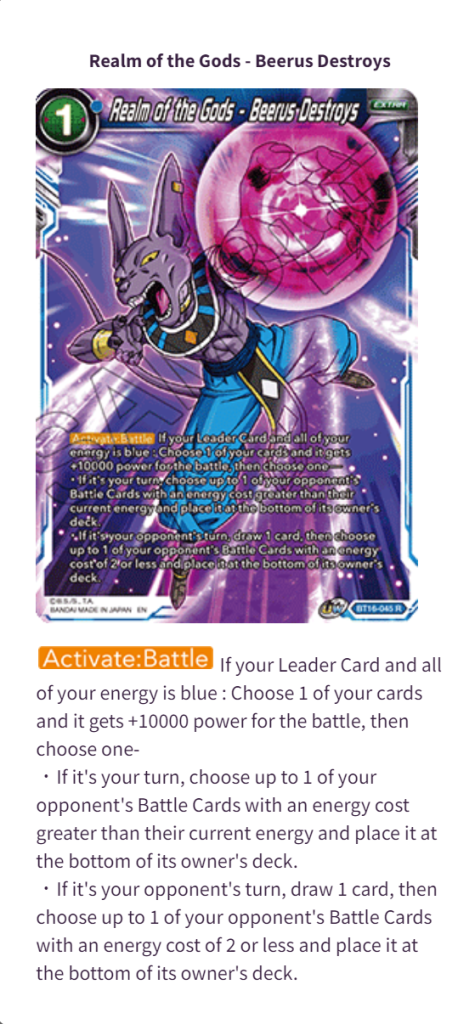
In this version of the deck I opt for 4x Frieza super combo since Sparking 5 is super easy, barely an inconvenience. There are some Red/Blue brews out there that play Beerus super combo, so keep that in mind since both cards have the U7 trait. I do not think I would ever consider Backbone, unless there was a hyper aggressive deck that could kill you before you achieved Sparking 5.
Frieza also tends to be a target for your awakened side leader ability fairly often. Having guaranteed draw super combos is pretty tight, can’t lie.
The Finishing Blow
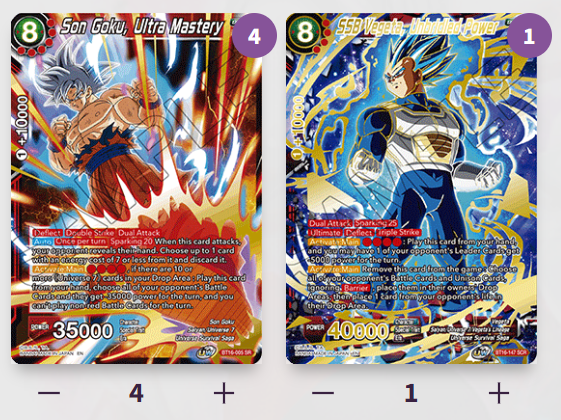
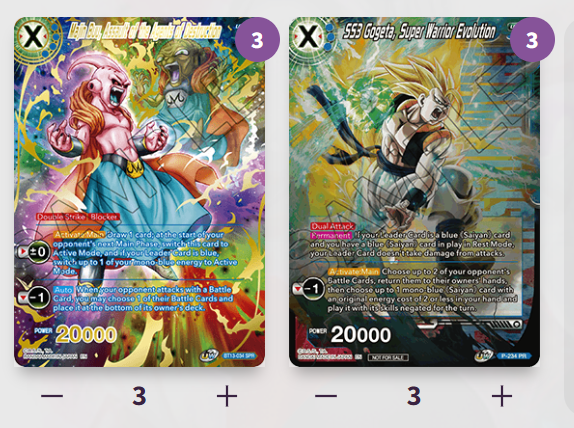
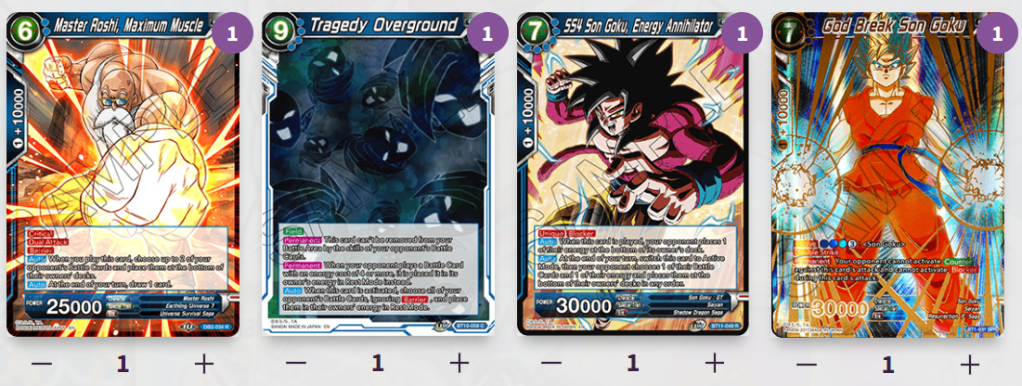
Son Goku, Ultra Mastery is easily one of the coolest finishers this game has ever seen. A four cost, Deflect, Double Strike, Dual Attack Battle Card what gives -35k to your opponent’s board and on the first swing looks at the opponent’s hand and makes them discard ANY card cost seven or less is basically everything I have ever wanted lol. The discard aspect also is what partially led me down the path I took with this list and the Unisons selected.
SSB Vegeta SCR – this is strictly for the whammies and for being on theme. Not only that, but wiping all Battle Cards, ignoring Barrier, is a pretty huge effect. Pan, Time Patrol Maiden and Spacetime Unraveler probably end up getting the nod over time, but we have to at least try with the best boy.
The Unison Plan
“As the format becomes more fair, threats that keep tempo, demand the opponent’s attention, and generate raw/virtual card advantage, on play and overtime, become the most important cards in the game”
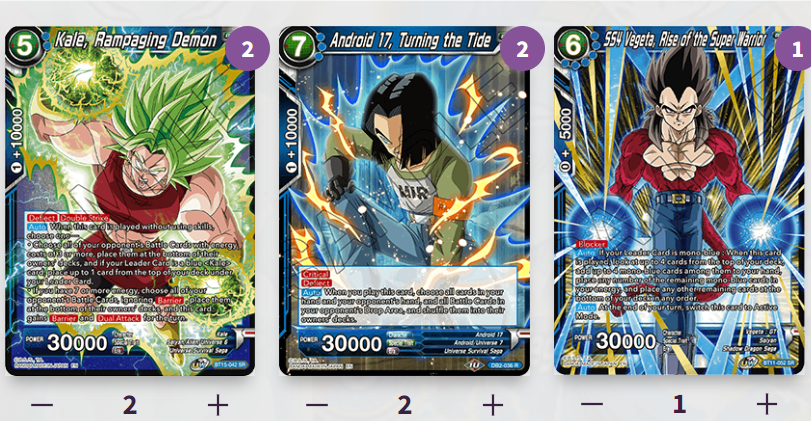
If you take a walk through the card pool you’re going to notice that the quality of battle cards that trade with your opponent’s resources profitably is pretty slim. Playing various games with Blue SS4 Vegeta and Green/Yellow Jiren (coming soon), it just became so clear that Unisons like SS3 Gogeta, Buu, and Yellow SS Trunks were often the best threats that allowed the player to keep generating offensive tempo, net immediate value, draw multiple resources from the opponent, and generate that raw/virtual card advantage needed to keep hand size and the board state manageable.
The way I tend to simplify what I am talking about with these types of cards is I often say they create tension. In that moment when card is being cast, a problem is being presented that often has the ability to completely swing the game when it comes to hand sizes and/or board state. The opposing player has to have a solution either in that moment or on the following turn. If the solution is not available, the likelihood of keeping tempo and pace tends to slip out of reach.
That is ultimately what led to this more varied style of Unison base because I wanted to accomplish a few things with each:
Piccolo Jr. – Draws a card immediately, has an Auto that provides value over the course of the game, and requires the opponent to invest three damage into getting it off the board. If the opponent doesn’t, that equals another card draw for you, another attack, and the ability to leverage Yamcha.
Gotenks – Has the ability to pump your leader and take a life on play to gain some immediate value and the opponent has to invest attacks into getting the markers down to to at least one in order to prevent the immediate cash-in that lets you peak at their hand. If they don’t, it means another attack, and if you have two markers you can just cash it in to peak at their hand and snipe a resource.
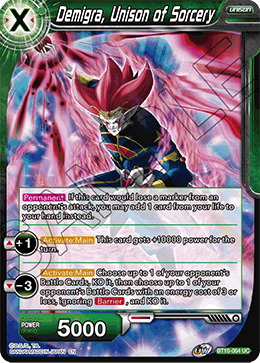
Syn Shenron – In this fair format Syn Shenron has been really impressive. Once it comes down it can create an immediate impact by shrinking two Battle Cards by 15k and it allows your Battle Cards to attack your opponent’s Battle Cards in active mode, which is pretty huge considering the type of cheap threats you get to play. Syn Shenron’s minus two effect is also a difference maker since it allows you to again peak at the opposing player’s hand and make them pitch a Battle Card with 25k power or less. This again creates that tension where your opponent has to invest resources, or they get punished.
Deck Philosophy
If you haven’t picked up on it already, we’re an aggressive slanting mid-range deck that focuses on board removal, and sprinkling in targeted hand disruption along the curve to keep ourselves ahead of the opposing player’s threats and potential answers. We also are relying on Unisons to be raw/virtual card advantage threats that create tension and force the opposing player to keep pace. Then once we get to turn four, we’re jamming our Son Goku, Ultra Mastery to pile on the pressure and again using targeted hand disruption to mitigate the opposing player’s threats and answers.
Additionally, the deck offers natural defense with Yamcha Counter: Play, Sparking super combos, and makes the best use out of Afterimage Technique and King Vegeta’s Imposing Presence. If you think about it in terms of playing a fair game based around Battle Cards, this deck kinda has it all.
Conclusion
There are so many ways to build this deck and ways to try and take advantage of the U7 synergies available. It truly is enjoyable to play because all of the cards for the archetype printed in Realm of the Gods are absolute bangers. You have efficient threats with built-in removal that can draw you cards, access to a great pool of red Unisons and tech choices, and a fantastic, flashy way to close out a game in style with Son Goku, Ultra Mastery. As stated above in the philosophy of this version of the deck, the goal truly is to create tension for the opposing player by presenting those damned if you do/don’t scenarios. If there is anything you take away from this article, it definitely should be that. This certainly is a Realm (LOL) that DBS is entering – Happy testing ❤
#scrubfamisbestfam #KTHXBAAAIIIIII